
Table of Contents
Hey guys, welcome to the Lumia Stream blog for all you streamers with a fascination for RGB. In this article, we’ll be going over a feature available in Lumia Stream premium, which allows for alert sensitive overlays for streaming. This feature is one that will allow you to make use of Lumia Stream’s features without actually needing any initial RGB hardware. It is more effective than it first appears because you gain the ability to utilize Layer mask filters on the browser source to make any RGB reactive shape you can imagine.
This tool can be applied, to great effect, on a webcam border, utilizing a simple mask file, and shaping the browser source to the correct aspect ratio necessary to achieve the desired look.
Ready to begin? Well, Let’s teach you about Lumia Stream’s Dynamic Overlay Module!
The Lumia Stream Dynamic Overlay Module - What is it?
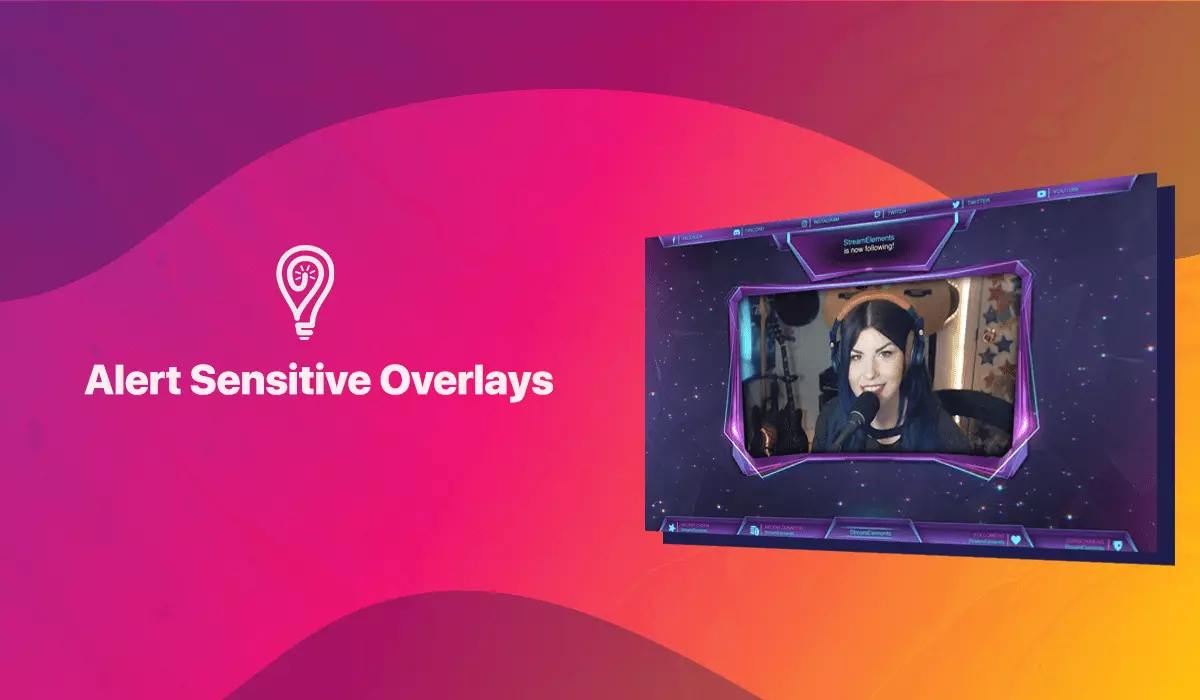
Let’s start with an example of what you can do with this feature. Take a look at this clip:
Note how the RGB reactive sections of his overlay follow what his Nanoleaf setup does, and that they are shaped in a Hex Grid. This is the Lumia Stream Overlay Module in all of its glory. Combining this source with a filter will allow you to ultimately control the shape of the module, as DigitalDrummer1080 has done with the Hex Grid.
How to Add the Dynamic RGB Overlay Element to OBS Studio
To add the Dynamic RGB Overlay element to OBS Studio, there are only a few steps necessary.
- Get the Premium edition of Lumia Stream
- Download the client and connect Streamlabs to Lumia Stream(Link this to the post)
- Click on the Gear located in the top right of the application
- Click on the “Overlay” button
- Copy the “Room URL” Located at the top of the application in this tab. It should look something like this:
- https://lumiastream.com/overlay?room=XXXXXXXX
- Open up OBS Studio
- Add a Browser source and name it “Lumia Stream Overlay”
- Click the + in the sub-window labeled “sources”
- Look for Browser and click it
- Insert the url that you copied from Lumia Stream’s interface
- Adjust the Window size to match what you need.
You may need to set the Width and height of the Overlay to 100% in the application and control the size using OBS Studio itself. It is a bit easier to do it this way. You should see a colored square or Rectangle with no design or shape. To make it “Look cool” you will need to add a mask file to act as the shape of the source in OBS Studio.
How to add a layer mask to your overlays for streaming
A quick mention, this can be applied to any source in use, including your webcam, game feed, and more. These masks will serve to add a level of control of your sources that most don’t even know is possible. These filters are what allows for chromakey effects, scrolling text, and various other effects. What we are going for in this guide, is to show you how to apply a layer mask to your Lumia Stream Overlay to give it a nice shape.
To add the filter effect,
- Simply right click your Lumia Stream Overlay source,
- select “Filters”.
- Under “Effect Filters”, click the +,
- Add the “Image Mask/Blend” filter
- Finally, in the box labeled “path”, click the browse button, and navigate to a layer mask image.
There aren’t many pre-existing overlay masks that you can utilize, but you can easily make your own in tools like paint.net, GIMP, and Photoshop. The key is to simply utilize white and black. The White areas will allow the color to pass unimpeded, while black will block it completely. Of course, you can fiddle with the mask alpha channels in some areas to have greater control over the mask, but that tends to be more than most will need, and is pretty difficult to get a clean result. I recommend sticking to simple black and white, with maybe an Anti-aliasing effect to blend the edges a bit to reduce jaggies.
A quick Bonus - Tips to make your own Image Masks using GIMP
If you’re using GIMP, then you can enable Tiling/Symmetry by clicking “Windows” -> “Dockable Dialogues” -> “Symmetry Painting”. This particular tool made a Colossal difference in the quality of the assets that I made for a video game, and could easily be used to create professional-looking image masks for OBS.
And that is all for this article. I hope that you found it helpful. Let us know down in the comments what you think, and see you in the next one!


